Rendezvous in low Kerbin orbit
“Somebody said ... when you come to within three miles (5 km), you've rendezvoused. If anybody thinks they've pulled a rendezvous off at three miles (5 km), have fun! This is when we started doing our work. I don't think rendezvous is over until you are stopped — completely stopped — with no relative motion between the two vehicles, at a range of approximately 120 feet (37 m). That's rendezvous! From there on, it's stationkeeping. That's when you can go back and play the game of driving a car or driving an airplane or pushing a skateboard — it's about that simple.”
~ Wally Schirra, Gemini 6 astronaut who accomplished the first successful orbital rendezvous in 1965 (although the spacecraft did not dock)
It was now time for orbital rendezvous. With both ships in orbit, you have to first make sure the orbital inclinations are the same. A small correction burn at the ascending node to equalize the inclinations does the trick — again the game is amazing in the tools it offers for things like this).
Alas, again I got careless and forgot to match the position of the target ship (the CM) when launching the second (the LM), so they ended up quite apart from each other. The LM, being on a lower orbit, was slowly catching up, but I had to warp through some ~10 full orbits to get it to actually catch up.
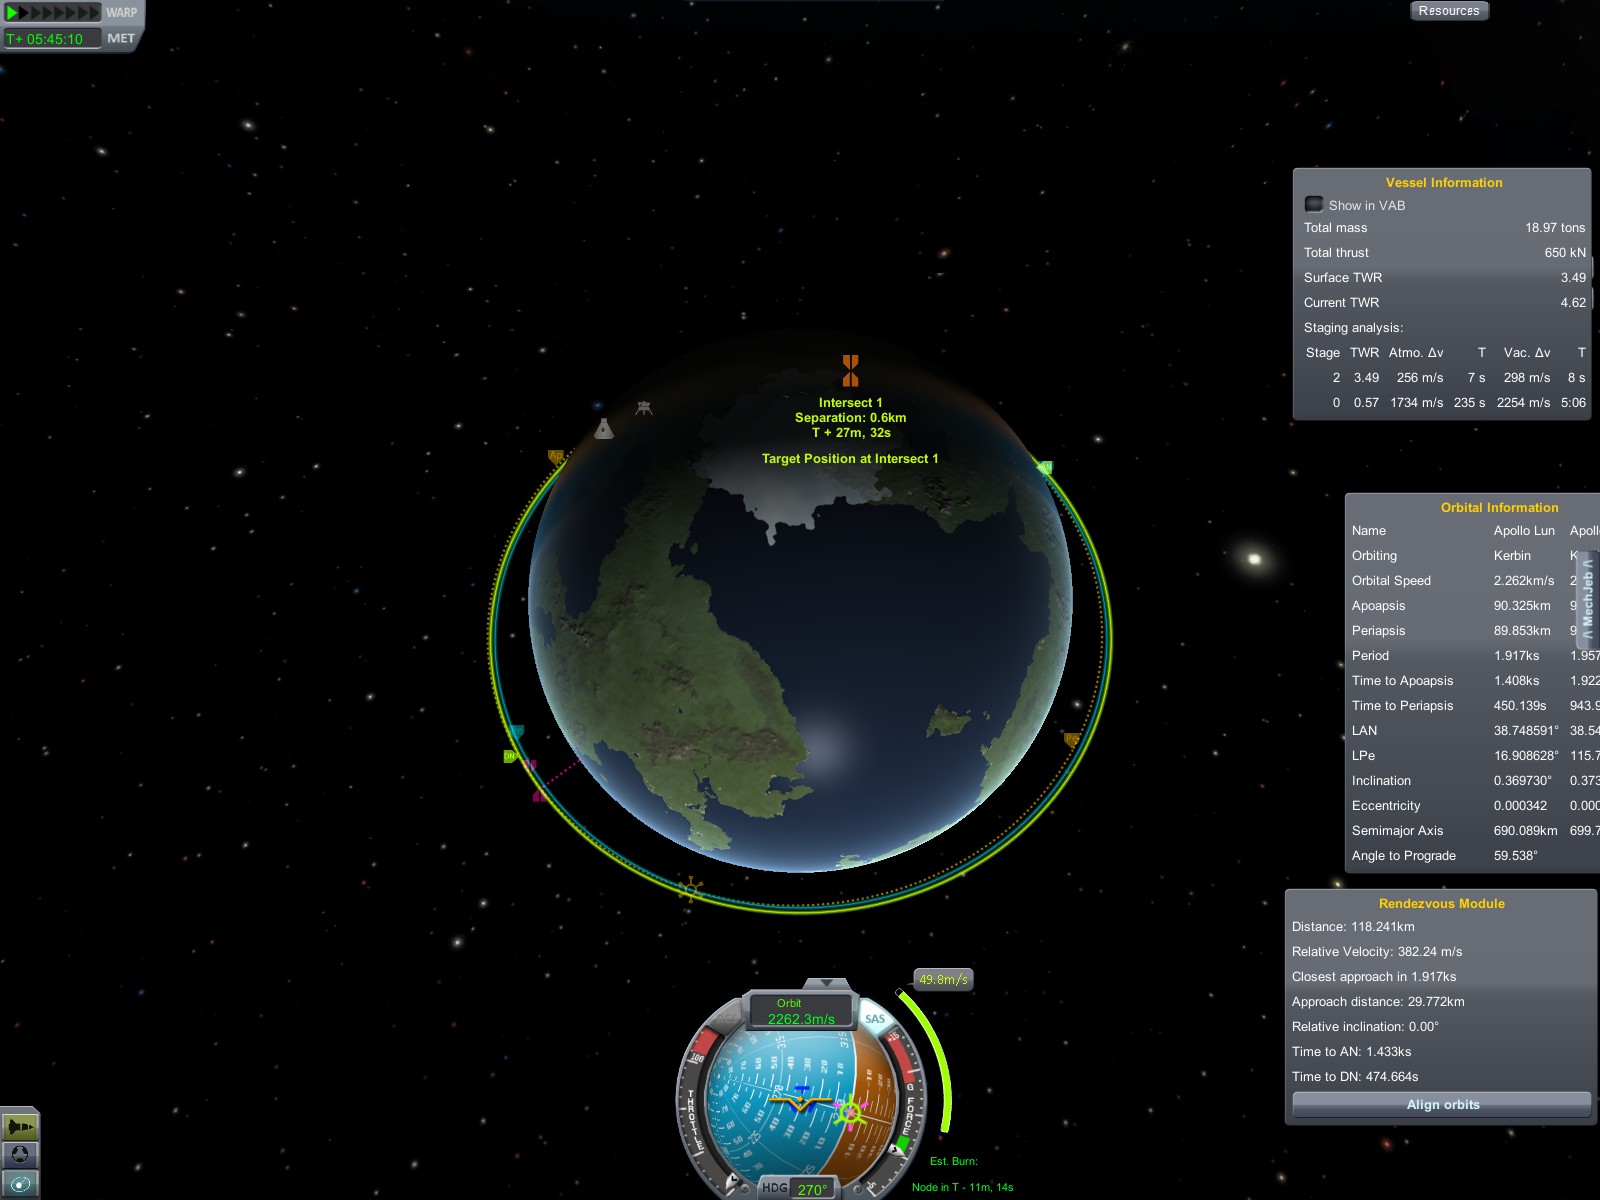
When the game tells you the faster ship will catch up in the next orbit, you create a maneuver to increase the apoapsis of the lower ship to match the orbit of the higher ship and have them meet at the intersection. This part I still don't quite grasp fully, though, as I have to fiddle around a lot with the maneuver node in order to get them to meet. Eventually, the game tells me the ships will come within a km of each other (it was 0.6 km this time) in the next orbit:
So you wait and do the burn (usually a short burn, was 50 m/s in this case) and then you have your ships in a rendez-vous trajectory. When they get to closest approach, you then kill the relative velocity between them. If done right, which again is easy thanks to the game's great visual cues, both ships will now be in a practically identical orbit and very close to each other. (Notice that getting them in the same orbit, but not close, is useless: it's impossible to catch up with something in the same orbit as you without changing your orbit again.)
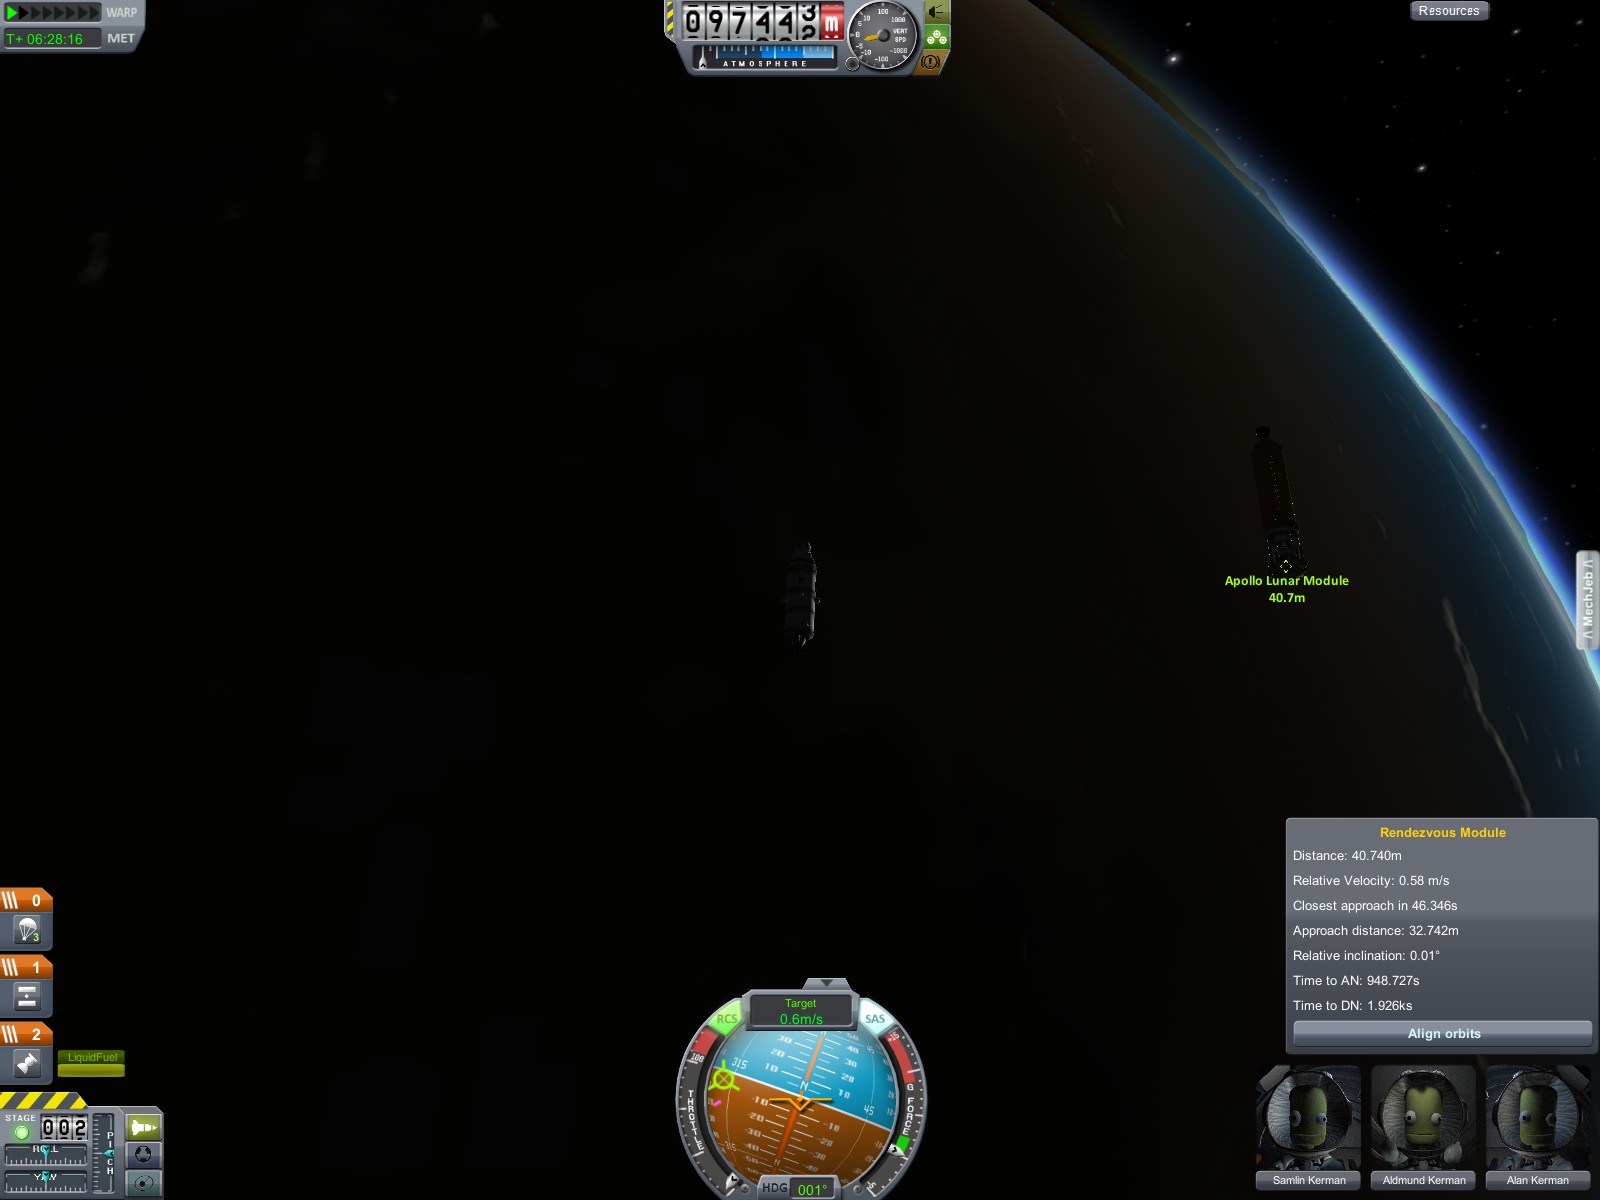
With the ships in the same orbit, you now move manually to close the final few hundred meters. You do very brief burns and watch the relative velocity vector, which the game kindly calculates for you when in Target mode. After some careful burning pro- and retrograde, you get within a few dozen meters:
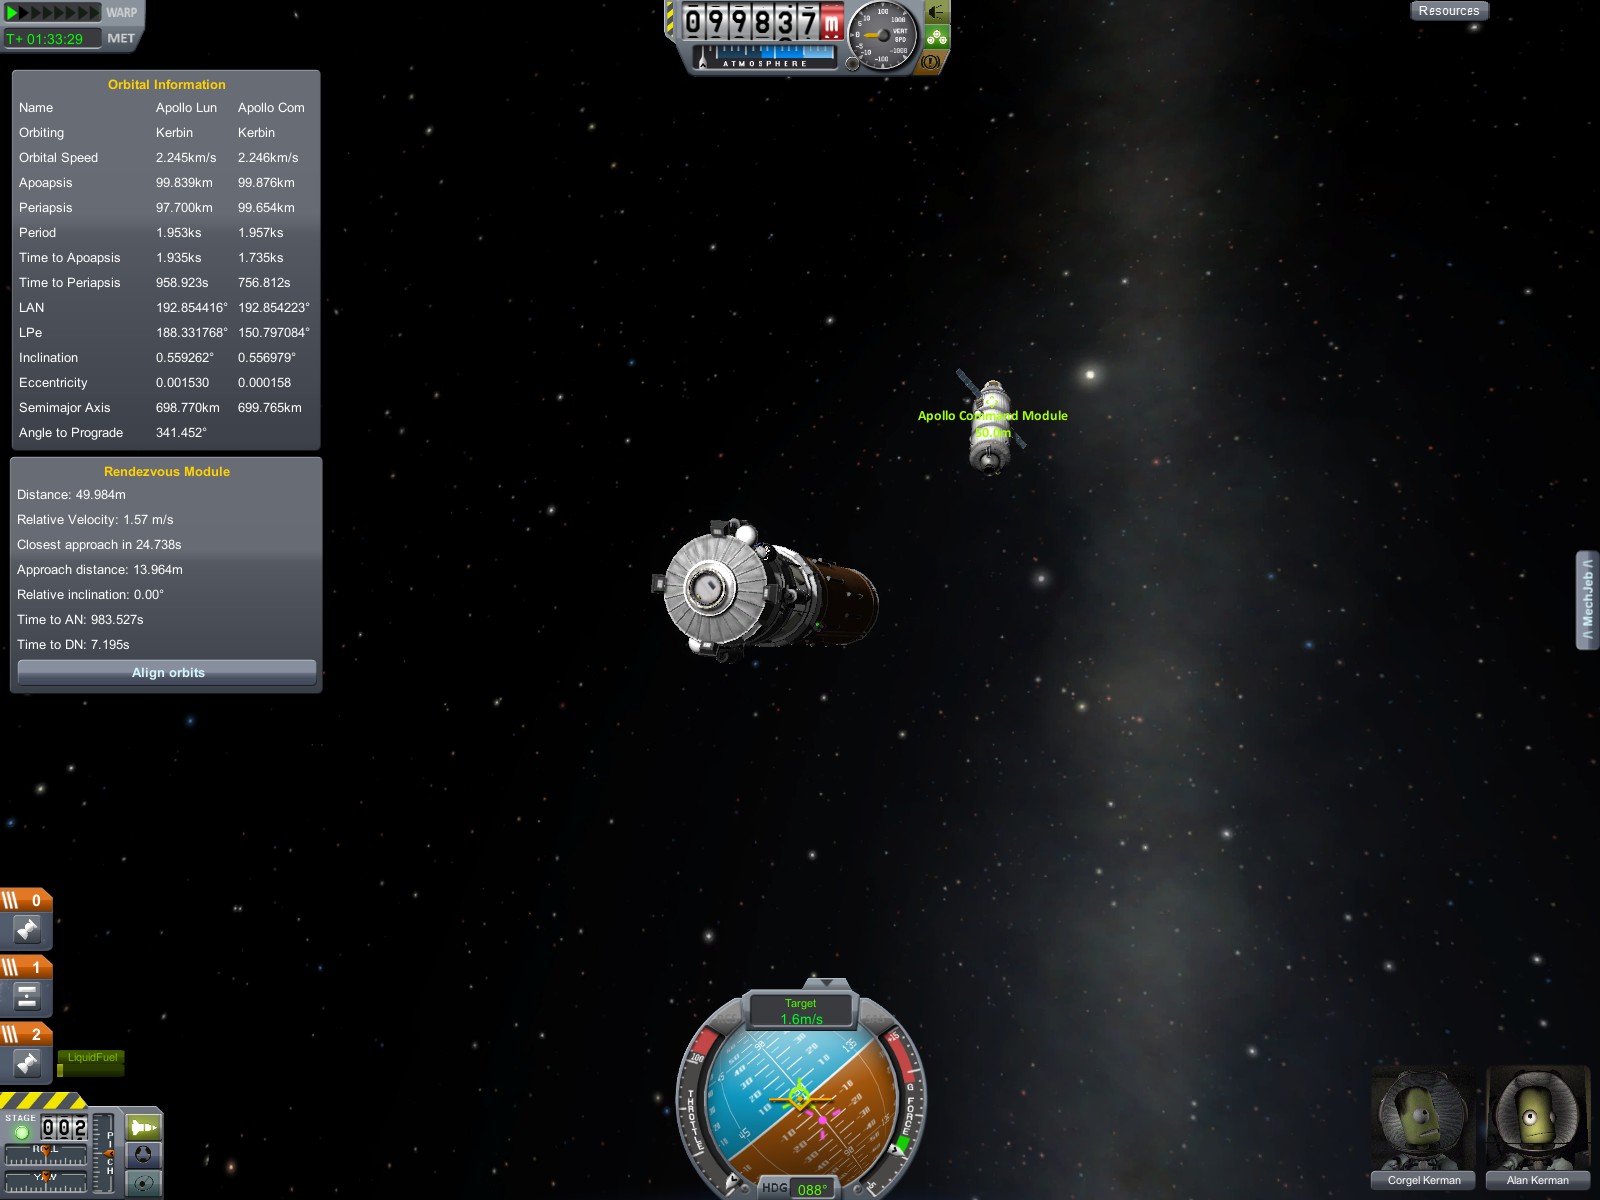
Now comes the tricky part: you kill the main engine and use RCS thrusters to slowly move in closer while keeping the ships (the docking ports, really) aligned. Aligning is the hardest part since it's a full 3D thing and the camera is awkward at times. Thankfully, I've taken up some useful hints from people on the internet and also found some of my own. But even though I'm getting better at it, it's still a challenge and I still make mistakes which must be corrected quickly; thankfully, none was fatal this time.
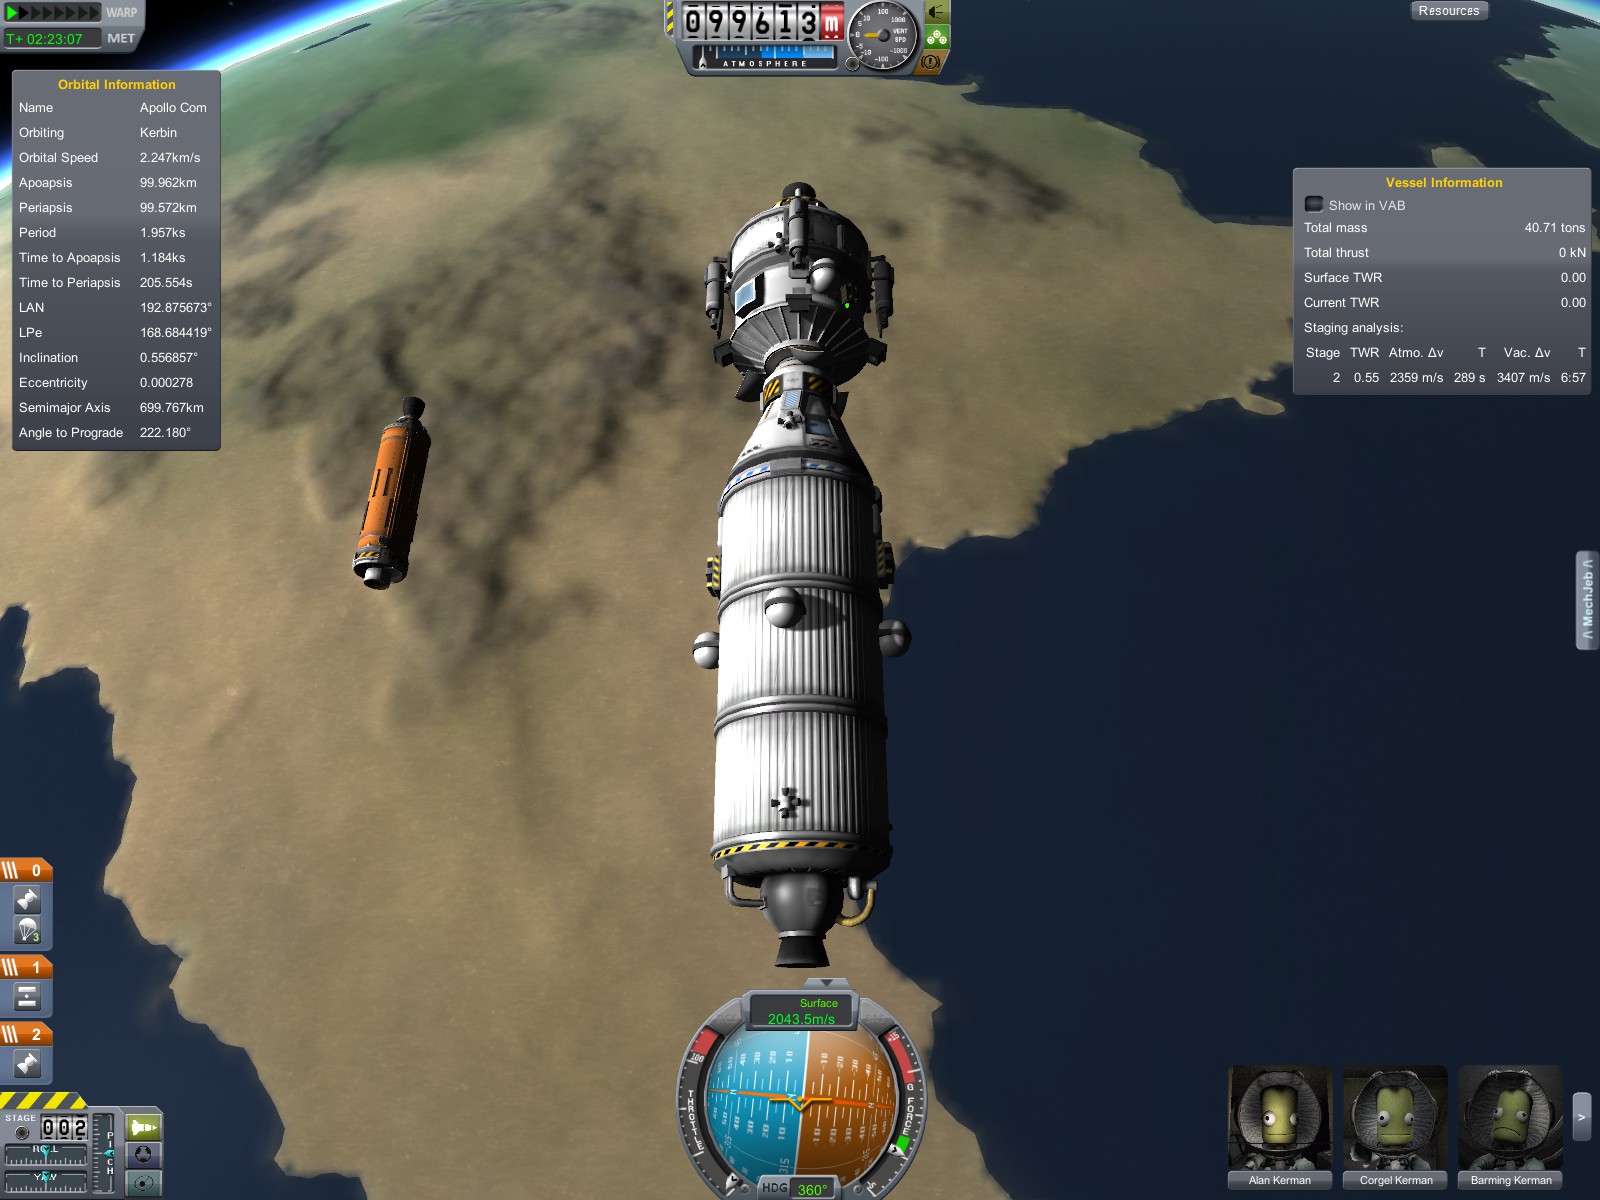
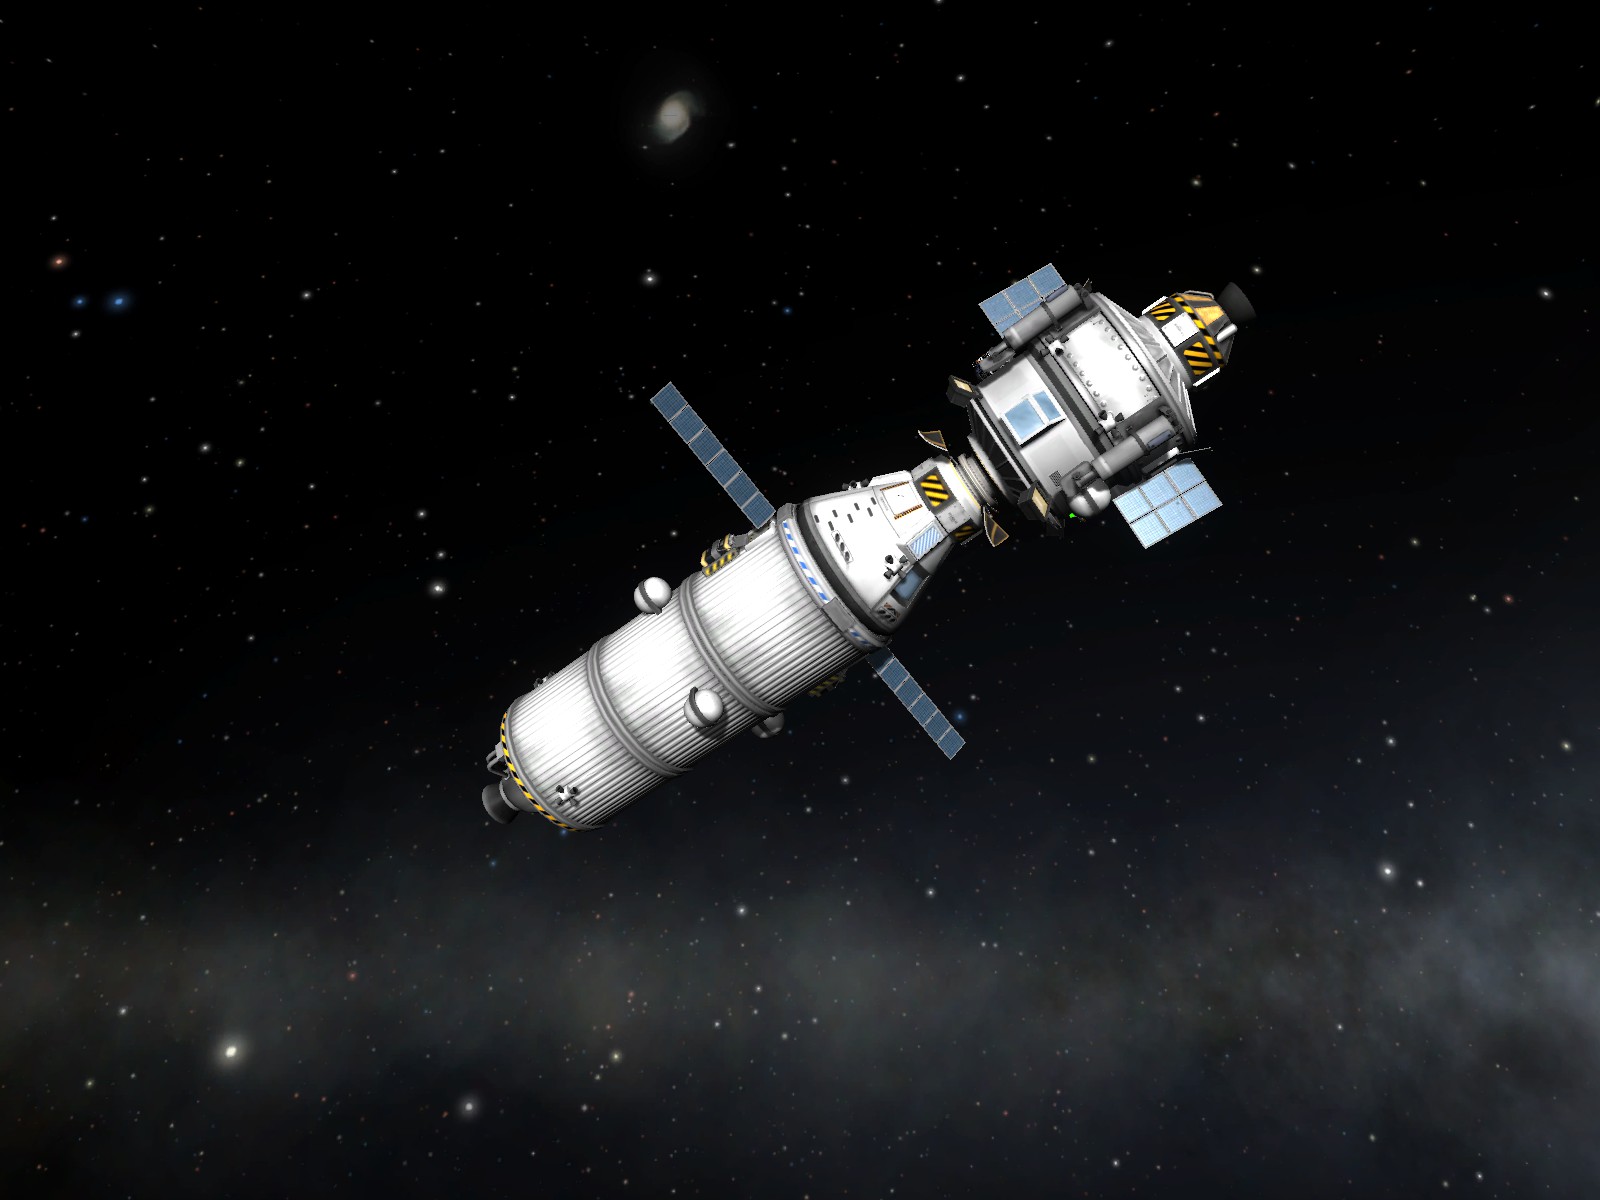
After some intense minutes of celestial ballet, the two ships finally docked and everyone was happy (also shown is the discarded LM final ascent stage):
Here's the complete lunar vehicle ready for its trip to the Mun:
Continue to Trans-lunar trajectory ...
< Launch | Trans-lunar trajectory >